How to Make Your Own Moss Wall Art (A Step-by-Step Guide)
Introduction
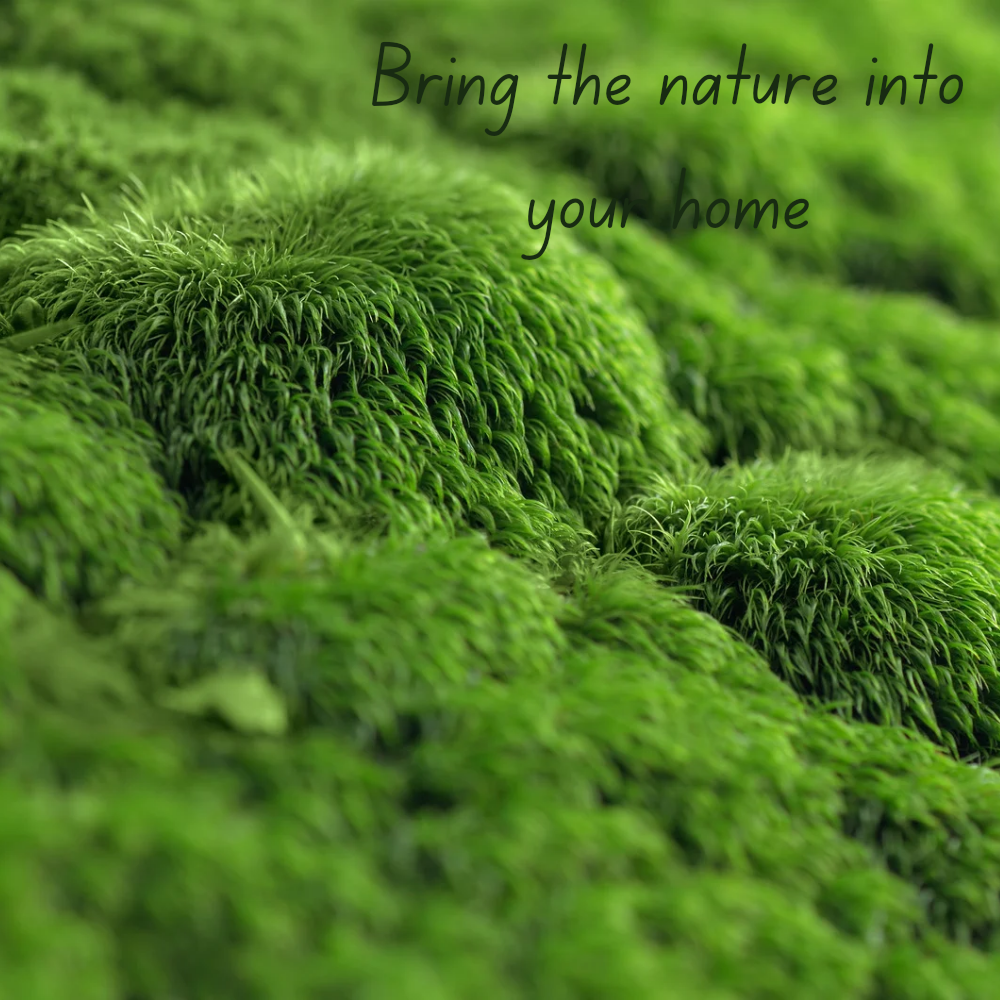
Moss wall art is a beautiful and unique way to add a touch of nature to your home. It is also a relatively easy project to do yourself, even if you don't have a lot of experience with DIY projects.
In this blog post, I will walk you through the steps on how to make your own moss wall art. I will also provide tips on choosing the right moss, preparing the surface, and caring for your finished project.
Materials and Tools
- Moss (You can buy moss online or at a local nursery.)
- Frame (You can use a pre-made frame or make your own.)
- Hot glue gun and glue sticks
- Scissors
- Paintbrush (optional)
- Wire (optional)
- Picture hanging hardware (optional)
Steps
- Choose the right moss. There are many different types of moss available, so it is important to choose one that will thrive in your climate. If you live in a dry climate, you will need to choose a type of moss that is drought-tolerant.
- Prepare the surface. The surface that you will be attaching the moss to should be clean and smooth. If the surface is uneven, you may need to use a filler to level it out.
- Cut the moss to size. Use scissors to cut the moss to the desired size. You can cut the moss into different shapes and sizes to create a unique design.
- Attach the moss to the surface. Use a hot glue gun to attach the moss to the surface. Be sure to apply the glue evenly so that the moss is secure.
- (Optional) Paint the moss. If you want to change the color of the moss, you can paint it with a water-based paint.
- (Optional) Add wire to the moss. If you want to hang the moss on the wall, you can add wire to the back of the frame.
- Hang the moss art. Once the moss is dry, you can hang it on the wall using picture hanging hardware.
Care Instructions
Moss wall art is relatively low-maintenance. However, there are a few things you can do to keep it looking its best:
- Mist the moss with water every few days to keep it moist.
- Avoid placing the moss in direct sunlight, as this can dry it out.
- If the moss starts to look brown or dry, you can trim it back and reapply some glue.
Conclusion
Making your own moss wall art is a fun and easy way to add a touch of nature to your home. With a little time and effort, you can create a beautiful and unique piece of art that will last for years to come.
Additional Tips
- If you are using a pre-made frame, be sure to remove the glass before attaching the moss. This will help to prevent the moss from getting waterlogged.
- If you are using a wire to hang the moss art, be sure to use a heavy-duty wire that can support the weight of the moss.
- You can also add other elements to your moss wall art, such as rocks, shells, or flowers. This will help to create a more unique and personal piece of art.
I hope this blog post has inspired you to try making your own moss wall art. It is a fun and rewarding project that anyone can do.
Comments
Post a Comment